FIQUE POR DENTRO
Insira seu email abaixo e receba promoções, notícias e novidades em primeira mão.
DVD NTSC / Ou MP4 Download / 4 Volumes / Áudio Inglês
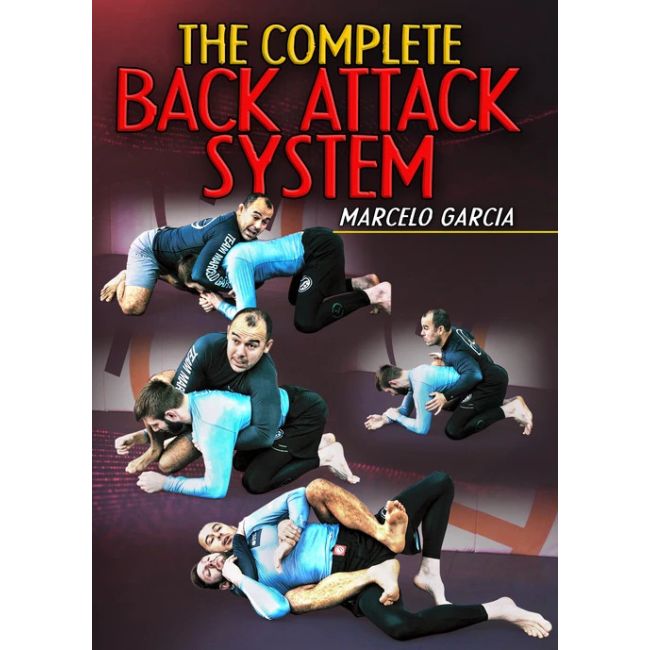
The Complete Back Attack System Com Marcelo Garcia
Pegue as costas e termine a luta com o Grappling Guia fácil de seguir de Marcelo Garcia sobre seus famosos ataques nas costas
Marcelo Garcia ensina todo o seu sistema para pegar as costas e forçar o tapinha com uma técnica impecável
Leve a luta à posição mais dominante no Jiu-Jitsu e termine com estilo, com Marcelo Garcia ensinando seu famoso sistema de ataques pelas costas nesta série de 4 volumes. Marcelo é conhecido como um inovador nas costas, e agora você pode aprender diretamente com o próprio homem, pois ele mostra como ele pega as costas e termina a luta com golpes como seu mata-leão.
Nesta série de quatro volumes, Marcelo explica como pegar as costas (com o mínimo de esforço e velocidade necessários), e depois como manter e finalizar a partir daí. Vá passo a passo enquanto Marcelo mostra o que fazer contra todos os principais contra-ataques e defesas, dando a você um sistema completo para o sucesso. Com esses detalhes ocultos, mas importantes, qualquer pessoa pode melhorar suas chances de encontrar as costas e fazer seu oponente bater usando uma técnica nítida.
Essas técnicas sem kimono foram aperfeiçoadas por Marcelo para funcionar o tempo todo, mesmo quando seus oponentes eram maiores e mais fortes que ele. Por isso Marcelo sempre conseguiu lutar e finalizar adversários bem maiores, usando técnicas como essa para ter a vantagem de volta. Não deixe de conferir o back take do “Giant Slayer” que Marcelo explica, o mesmo que ele usou em várias lutas do ADCC a caminho de quatro campeonatos.
Aprenda como você pode encontrar oportunidades de pegada das costas a partir de todos os lugares e como lidar com oponentes teimosos e talentosos. Marcelo se aprofunda em sua técnica, mostrando como fluir e contra-atacar as defesas de seu oponente com soluções simples. Obtenha esta série para obter explicações detalhadas sobre como você pode usar o caminho para as costas, cintos de segurança, armadilhas kimura, crucifixos, crab rides e muito mais para assegurar o controle das costas.
Part 1:
TAKING THE BACK
"Spinning" BACK-TAKE vs Single-Leg Escape, SEAT-BELT w/ Near-Side Tilt or Barrel-Roll
Near-Side BACK-TAKE vs Single-Leg Escape, "Go-Behind" BACK-TAKE, "Spinning" BACK-TAKE from Side Control
"Go-Behind" BACK-TAKE from Sprawl, SEAT-BELT w/ CRUCIFIX or BACK MOUNT
Modified Scarf-Hold from "Go-Behind" BACK-TAKE vs Turtle Escape, Modified Scarf-Hold from Sprawl vs Guard Recovery
"Throw-By" BACK-TAKE from Sprawl, Modified Scarf-Hold vs Turtle Escape
"Go-Behind" BACK-TAKE from Sprawl, Sprawl w/ SEAT-BELT vs Single-Leg Counter to "Go-Behind"
Sprawl w/ SEAT-BELT from "Go-Behind" BACK-TAKE vs Single-Leg, Back-Roll w/ SEAT-BELT vs Single-Leg Reversal
"Go-Behind" BACK-TAKE w/ "Wrist-Rip" from Sprawl vs Turtle Defense, Modified Scarf-Hold w/ "Wrist-Rip" vs Turtle Escape
Standing Closed Guard Break, Leg-Lock Escape, BACK-TAKE w/ Stacking Pass vs Inverted Guard
Rolling Toe-Hold Escape, "Climbing" BACK-TAKE vs Rolling Toe-Hold
Part 2:
JUMPING BACK-TAKES
"Kuzushi" vs All-Fours, "Jumping" BACK-TAKE vs All-Fours, Rolling Leg-Lock Escape
"Kuzushi" from BACK BODYLOCK, Front Head-Lock & Turtle Guard for BACK-TAKE or REAR NAKED CHOKE
"Kuzushi" from BACK BODYLOCK, "Jumping" BACK-TAKE w/ SEAT-BELT, "Jumping" BACK-TAKE vs Quad-Pod or Standing
BACK-TAKE from BACK BODYLOCK vs All-Fours, CRUCIFIX or Near-Side Tilt w/ SEAT-BELT, "Barrel-Roll" vs Turtle Escape
BACK-TAKE from BACK BODYLOCK vs Turtle, "Barrel-Roll" & "Belly-Down" BACK RECOVERY vs Turtle/Back Escapes
"Jumping" BACK-TAKE, Arm-Trap(s), "Re-Jump" vs Hook-Defense
"Jumping" BACK-TAKE, Arm-Trap(s), 2x Cross-Wrist, "Jumping" BACK-TAKE & REAR NAKED CHOKE w/ CRUCIFIX vs Quad-Pod
"Jumping" BACK-TAKE vs Quad-Pod, Near-Side Tilt w/ SEAT-BELT Control vs Quad-Pod
"Jumping" BACK-TAKE & CRUCIFIX vs Quad-Pod, Near-Side Tilt w/ SEAT-BELT, "One-Armed" REAR CHOKE w/ CRUCIFIX
"Jumping" BACK-TAKE w/ SEAT-BELT vs Standing & All-Fours, "Giant-Slayer" BACK-TAKE vs Standing
"Giant-Slayer" BACK-TAKE vs Standing, SEAT-BELT Control w/ BACK MOUNT
"Bolo" BACK-TAKE from Cross-Guard, BACK BODYLOCK from CRAB-RIDE, "Diving" BACK-TAKE from CRAB-RIDE
Part 3:
FINISHING FROM THE BACK
"Swing-Up" BACK RECOVERY w/ SEAT-BELT Control vs Turtle Defense
"Swing-Up" BACK RECOVERY w/ SEAT-BELT Control vs Turtle Escape, REAR NAKED CHOKE vs Turtle Escape
BACK MOUNT, Arm-Trap, "Swing-Up" BACK RECOVERY, Near-Side Tilt vs Turtle, "PEZ" Set-Up for REAR NAKED CHOKE
Double Wrist Control from SEAT-BELT, REAR NAKED CHOKE w/ "Wrist-Wriggle, Crimp-Grip & Scrapes" vs Choke Defense
"One-Handed" Finish for REAR NAKED CHOKE w/ "Crimp-Grip", REAR NAKED CHOKE w/ "Recline" Finish
Arm-Trap, Double Wrist Control, "Kimura-Grip" SEAT-BELT, "PEZ" Set-Up for REAR NAKED CHOKE w/ "Recline" Finish
Arm-Trap, Double Cross-Wrist Control, "Wrist-Wriggle" & "PEZ" Set-Up for REAR NAKED CHOKE w/ "Gable-Grip"
Arm-Trap, 2x Cross-Wrist, "Wrist-Wriggle" & "PEZ" Set-Up for REAR NAKED CHOKE w/ "Gable-Grip", "Jumping" BACK-TAKE
Arm-Drag to Sit-Out Single-Leg Take-Down, Arm-Drag to BACK-TAKE vs Quad-Pod, Near-Side Tilt w/ SEAT-BELT Control
Single-Leg w/ "Run-the-Pipe" Finish, "Kuzushi" from BACK BODYLOCK w/ Single-Leg, "Jumping" BACK-TAKE w/ SEAT-BELT
Single-Leg & "Back-Door" Finish from Butterfly w/ 2-On-1, "Jumping" BACK-TAKE w/ SEAT-BELT from "Back-Door" Single-Leg
Part 4:
MAINTAINING BACK CONTROL
"Barrel-Roll" BACK RECOVERY vs Turtle/Back Escapes, "Reverse Back-Hook" vs Back Escape
"Bridge-Over" w/ SEAT-BELT vs Turtle Escape, "Barrel-Roll" vs Turtle Escape, CRUCIFIX w/ SEAT-BELT Control
"Belly-Down & Cart-Wheel" w/ "Crimp-Grip" vs Back Escape to BACK RECOVERY or REAR NAKED CHOKE w/ "Recline" Finish
"Faze-Through" w/ SEAT-BELT & "Crimp-Grip & Scrapes" vs Back/Choke Defense, REAR NAKED CHOKE w/ "Recline" Finish
"Faze-Through" w/ SEAT-BELT vs Back Defense, Double Wrist Control or Double Cross-Wrist to SEAT-BELT Control
"Faze-Through" w/ SEAT-BELT vs Back Defense, "2-On-1" SEAT-BELT & "Power-Half" BACK RECOVERY vs Back Escape
"Faze-Through" w/ SEAT-BELT vs Back Defense, "Wrist-Rip" vs Choke Defense, REAR NAKED CHOKE vs Back Escape
"Barrel-Roll" vs Back Escape, "Faze-Through", "Crimp-Grip" & "1-On-1" Wrist Control w/ SEAT-BELT vs Back Defense
CRUCIFIX vs Quad-Pod, Mounted CRUCIFIX vs "Slide-Out" Escape, Inverted Triangle from Mounted CRUCIFIX